
Bending metal rods is a common task in many DIY projects, from creating custom brackets to artistic sculptures. While it may seem straightforward, doing it correctly and safely requires the right knowledge and techniques. Improper methods can lead to damaged materials, inaccurate bends, or even serious personal injury.
This guide on how to bend metal rods safely will walk you through the essential steps to bend metal rods safely and effectively. We will cover everything from selecting the proper tools to understanding the properties of different metals. By following these guidelines, you can achieve professional-looking results while prioritizing your safety throughout the process.
Tools and Materials You’ll Need
- Safety Goggles
- Thick Work Gloves
- Metal Rod
- Bench Vise
- Propane Torch or Heat Gun (for hot bending)
- Pipe or Rod Bending Tool (jig)
- Hammer or Mallet
- Measuring Tape
- Permanent Marker
- Fire Extinguisher (if using heat)
7 Step-By-Step Guidelines on How to Bend Metal Rods Safely
Step 1: Prioritize Safety and Prepare Your Workspace

Before you begin any metalwork, your first priority must be safety. Start by putting on your personal protective equipment (PPE), which should include shatterproof safety goggles to protect your eyes from flying debris and thick leather work gloves to shield your hands from sharp edges and heat. Ensure your workspace is clean, well-lit, and free of any flammable materials, especially if you plan on using a torch for hot bending.
It is also crucial to have good ventilation to avoid inhaling any fumes that might be released from the metal or its coatings when heated. Keep a fire extinguisher within easy reach as a precaution. A well-prepared workspace not only prevents accidents but also allows you to work more efficiently and focus on the task at hand without distractions or hazards.
Step 2: Measure and Mark the Rod
Accuracy is key to achieving the desired bend. Use a measuring tape to determine the exact point where you want to bend the metal rod. Once you have located the spot, use a permanent marker to make a clear and visible mark. If your project requires multiple bends, measure and mark all points before you start bending to ensure consistency and precision.
Double-check your measurements before proceeding. A small error at this stage can lead to a significant deviation in the final product, potentially wasting the material and forcing you to start over. Taking a few extra moments to confirm your marks will save you time and frustration later in the process.
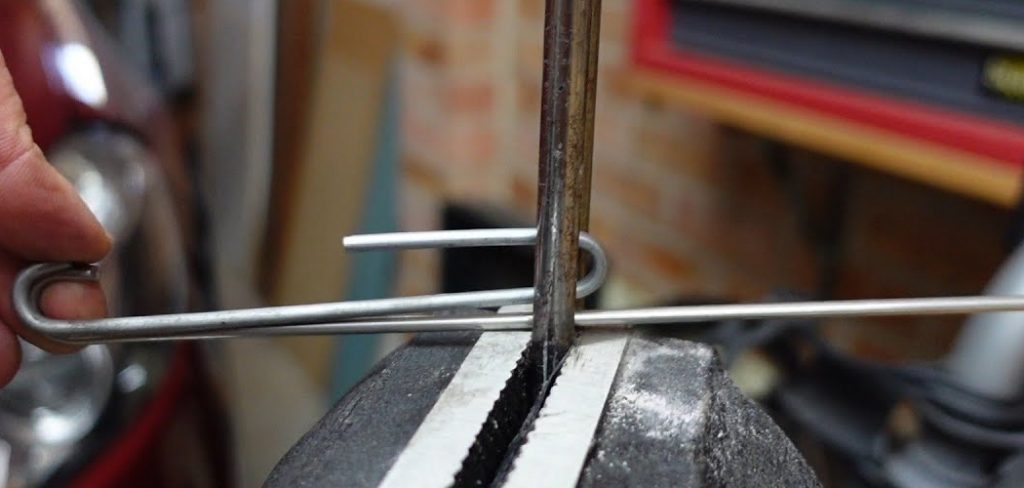
Step 3: Secure the Metal Rod Firmly
A securely held rod is essential for both safety and achieving a clean bend. The best way to secure your rod is with a sturdy bench vise. Position the rod in the vise so that your marked bending point is just outside the jaws. This placement provides the necessary leverage and support. Tighten the vise firmly to prevent the rod from slipping or moving unexpectedly during the bending process, which could cause injury or an inaccurate bend.
If you don’t have a bench vise, you can improvise by using heavy-duty clamps to secure the rod to a strong workbench. Whatever method you choose, test the setup by trying to wiggle the rod. If there is any movement, you need to tighten it further or re-evaluate your clamping method. A stable rod is non-negotiable for a controlled and safe bend.
Step 4: Apply Leverage for a Cold Bend

For thinner and softer metal rods, cold bending is often sufficient. Once the rod is secured, you can apply force to create the bend. A simple and effective method is to slide a hollow pipe, known as a cheater bar, over the free end of the rod. This extends the lever, making it much easier to apply controlled pressure and bend the metal smoothly. Apply a slow, steady force to the pipe, gradually working the rod into the desired angle.
Avoid applying sudden or jerky movements, as this can cause the metal to snap or create a weak point at the bend. If you don’t have a suitable pipe, you can use a rod bending jig, which provides specific angles and more support for a precise bend. Always focus on a gradual application of pressure to allow the metal to form the new shape without compromising its structural integrity.
Step 5: Apply Heat for a Hot Bend (If Necessary)
Thicker or harder metals like steel often require heat to become malleable enough to bend without fracturing. This process is known as hot bending. Using a propane torch or a heat gun, apply heat evenly to the marked area. Keep the flame or heat source moving back and forth across the bend point to avoid creating a hot spot, which can weaken the metal.
The goal is to heat the rod until it glows a bright cherry red, which indicates it has reached a suitable temperature for bending.
Once the metal is glowing, turn off the torch and work quickly but safely. Using your cheater bar or bending jig, apply steady pressure to form the bend. The heated metal will be much easier to shape, requiring significantly less force than cold bending. Be extremely cautious during this step, as the metal will be incredibly hot.
Step 6: Form the Bend and Check the Angle
As you apply pressure, focus on creating a smooth, gradual curve rather than a sharp, abrupt angle. Sharp bends can create stress points that weaken the metal. Continue applying force until you have achieved your desired angle. You can use a protractor or an angle finder to check your progress and ensure accuracy, especially if you are trying to match a specific design or template.
If the angle isn’t quite right, you may be able to make minor adjustments. For cold bends, you can apply a bit more pressure. For hot bends, you may need to reheat the metal slightly to make it pliable again. Take your time during this stage to get the angle perfect, as it is much harder to correct once the metal has fully cooled and hardened.
Step 7: Allow the Metal to Cool Completely
After you have successfully bent the rod, it needs to cool down. If you use heat, the metal will be extremely hot and can cause severe burns. Let it cool naturally in a safe location away from any flammable materials. Do not quench the hot metal in water or oil unless you are experienced with heat-treating processes, as rapid cooling can make certain metals brittle and prone to cracking.
Natural air cooling is the safest method and helps the metal retain its strength and durability. Once the rod is completely cool to the touch, you can safely handle it and remove it from the vise. Inspect your work to ensure the bend is smooth and free of cracks or stress marks. Your safely bent rod is now ready for your project.
Following these steps on how to bend metal rods safely and efficiently can help you complete your project with precision and without any accidents. Remember to always follow safety precautions, wear protective gear, and use proper tools for the task at hand.
Additional Tips
- Always start with a longer piece of metal than you think you will need. This gives you extra material to grip and allows for a margin of error.
- Understand the type of metal you are bending. Softer metals like aluminum and copper bend easily, while harder metals like steel require more force or heat.
- For repeated, identical bends, create a simple jig by securing blocks of wood or metal pieces onto your workbench.
- A pipe bender tool can be a great investment if you plan to bend many rods, as it provides excellent leverage and control for consistent results.
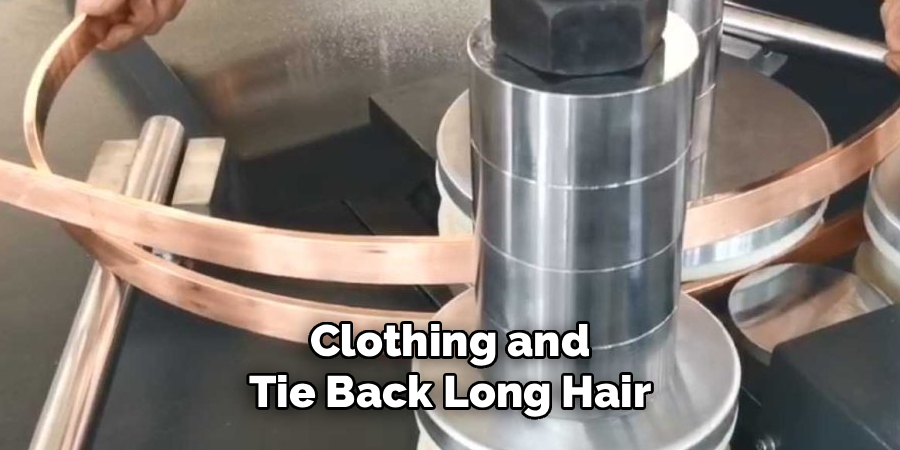
- Wear tight-fitting clothing and tie back long hair to prevent anything from getting caught while you are working.
Common Mistakes to Avoid
- Skipping safety gear like goggles and gloves was the fastest way to get injured.
- Applying force too quickly, causing the metal to kink or even snap.
- Using insufficient leverage can lead to straining your body and making inaccurate bends.
- Overheating one single spot on the metal wompromises its structural integrity and creates a weak point.
- Attempting to bend metal that is too thick or hard for your tools and strength.
Do You Need to Use Professionals?
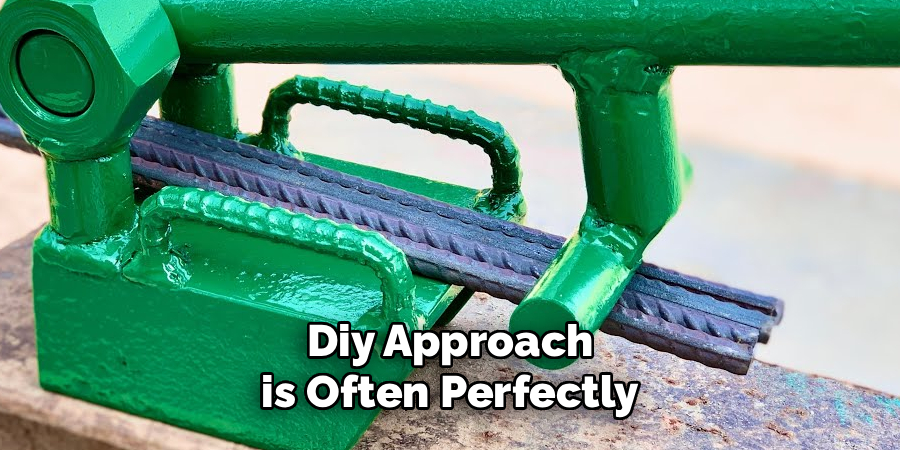
For simple projects involving thin, soft metal rods, a DIY approach is often perfectly fine. However, there are situations where hiring a professional fabricator is the better choice. If your project requires extreme precision, complex bends, or involves very thick or hardened steel, a professional will have the specialized hydraulic benders and industrial-grade equipment to do the job safely and accurately. They also have the experience to work with exotic alloys and can guarantee the structural integrity of the final product, which is critical for functional parts in vehicles or construction.
How Much Will It Cost?
The cost of bending metal rods can vary widely. For a DIY approach, the main expense will be the tools. If you already own a bench vise and basic hand tools, the cost could be minimal. Purchasing a quality bench vise might cost between $50 and $150, and a simple propane torch setup is around $30 to $60. If you choose to hire a professional, the cost will depend on the complexity of the job, the type of metal, and the shop’s hourly rate. A simple bend might cost as little as $20, while intricate, multi-bend projects could run into hundreds of dollars.
Frequently Asked Questions
Q1: What Is the Best Way to Bend a Metal Rod Without a Vise?
A1: If you don’t have a vise, you can still bend a metal rod using a few alternative methods. One option is to find two sturdy, stationary objects that are close together, like two heavy workbenches or even two trees. You can place the rod between them and use leverage to bend it. Another method involves securing the rod to a workbench with multiple C-clamps and then using a cheater pipe to apply force.
Q2: Can I Bend Rebar at Home?
A2: Yes, you can bend rebar at home, but it requires significant force. Rebar is designed to be strong, so cold bending thinner diameters (like 3/8-inch) is possible with a long cheater bar for leverage. For thicker rebar, applying heat with a torch is almost always necessary to make it pliable enough to bend without specialized hydraulic equipment. Always use proper safety gear, as rebar can spring back unexpectedly.
Q3: How Do I Keep the Metal from Cracking When I Bend It?
A3: To prevent cracking, ensure your bend has a sufficiently large radius; sharp, tight bends create too much stress. Applying force slowly and steadily is also crucial. For harder or thicker metals, heating the bend point to a cherry-red color will make the metal ductile and allow it to be formed without fracturing. Never try to force a cold bend on a metal that is too brittle or thick.
Q4: Does Bending Metal Make It Weaker?
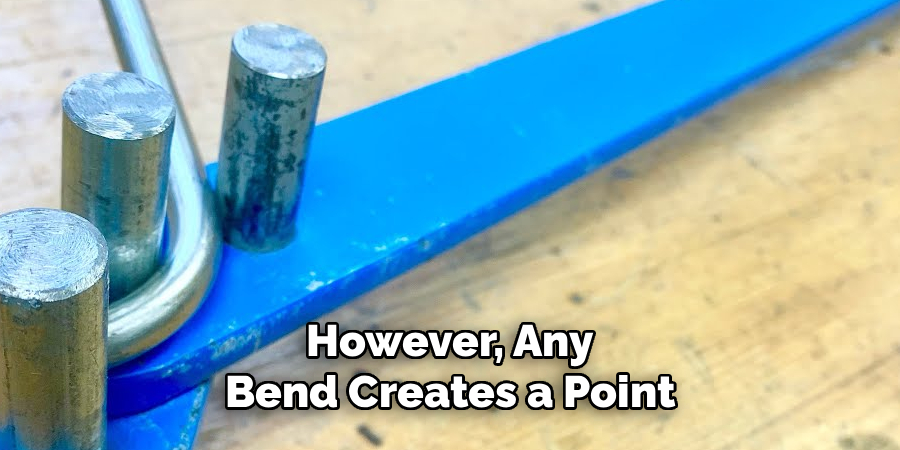
A4: Bending does change the properties of the metal. The process of cold bending work-hardens the metal at the bend point, which can make it stronger but more brittle. Hot bending, followed by slow cooling, generally has less impact on the metal’s overall strength. However, any bend creates a point of stress concentration. A smooth, gradual bend is much stronger than a sharp, kinked one.
Conclusion
Bending metal rods is a skill that combines technique, patience, and a strong commitment to safety. By preparing your workspace, using the right tools, and following a methodical approach, you can shape metal to fit the needs of any project.
Whether you choose a cold or hot bending method, the key is to apply slow, controlled pressure to achieve a clean and accurate result. Always remember that taking your time and prioritizing safety will not only protect you from harm but also lead to a higher quality of work. Thanks for reading this guide on how to bend metal rods safely.
About
Mirat Rate is a skilled author for The Metalix, bringing 6 years of expertise in crafting a wide range of The Metalix. With a strong background in metalwork, Mirat’s knowledge spans various types of fixtures, from decorative pieces to functional hardware, blending precision with creativity. His passion for metalworking and design has made him a trusted resource in the industry.
Professional Focus:
Expert in Metal Fixtures : Mirat aesthetic specializes in creating durable and innovative metal fixtures, offering both appeal and functionality. His work reflects a deep understanding of metalworking techniques and materials.
Sustainability Advocate : He is dedicated to using sustainable practices, ensuring that every fixture is crafted with eco-friendly methods while maintaining high-quality standards.
In his writing for Metal Fixes, Mirat provides valuable insights into the latest trends, techniques, and practical advice for those passionate about metal fixtures, whether they are professionals or DIY enthusiasts. His focus on combining artistry with engineering helps others discover the true potential of metal in design.