
Whether you’re a seasoned DIY enthusiast or a beginner homeowner, your metal tools are the backbone of your projects. From hammers and wrenches to chisels and pry bars, these tools are built to be tough, but they are not indestructible. Regular use, accidental drops, and improper storage can lead to damage that compromises both their effectiveness and your safety.
A cracked hammer handle or a chipped screwdriver tip can fail at a critical moment, leading to project mishaps or serious injury. Learning how to check metal tools for damage is a fundamental skill that extends their lifespan and ensures they perform safely and reliably every time you reach for them.
Proper tool maintenance starts with understanding the signs of wear and tear. By identifying potential issues early, you not only safeguard your projects but also avoid unexpected expenses from replacing tools prematurely. Developing a routine to inspect your tools can help you detect small cracks, rust, or loose fittings before they become major problems, ensuring your tools remain dependable over time.
Gather Tools and Materials
Before inspecting your tools for damage, gather everything you’ll need to properly assess and maintain them. Start with a clean, well-lit workspace to make it easier to spot cracks, rust, or other signs of wear. You’ll also need a few essential items, such as a clean cloth to wipe away dirt and debris, a magnifying glass for close inspections, and lubricating oil to protect metal surfaces from rust.
If you plan to make minor repairs, keep sandpaper, a file, or a metal brush handy for removing corrosion, as well as replacement parts for any tool components that can be easily switched out. Having these materials ready will streamline the process and help you restore your tools to peak condition.
Why Regular Tool Inspection Matters
Regularly inspecting your tools is essential for maintaining both their functionality and your personal safety. Damaged tools can fail unexpectedly, turning simple tasks into dangerous situations. Identifying issues such as rust, cracks, or loose components early allows you to address problems before they escalate.
Additionally, routine inspections help you avoid costly replacements by ensuring tools are repaired or maintained in a timely manner. By developing the habit of checking your tools before every use, you can not only extend their lifespan but also ensure that every project you undertake is completed efficiently and safely.
8 Step-by-Step Guide on How to Check Metal Tools for Damage
Step 1: Start with a Clean Slate
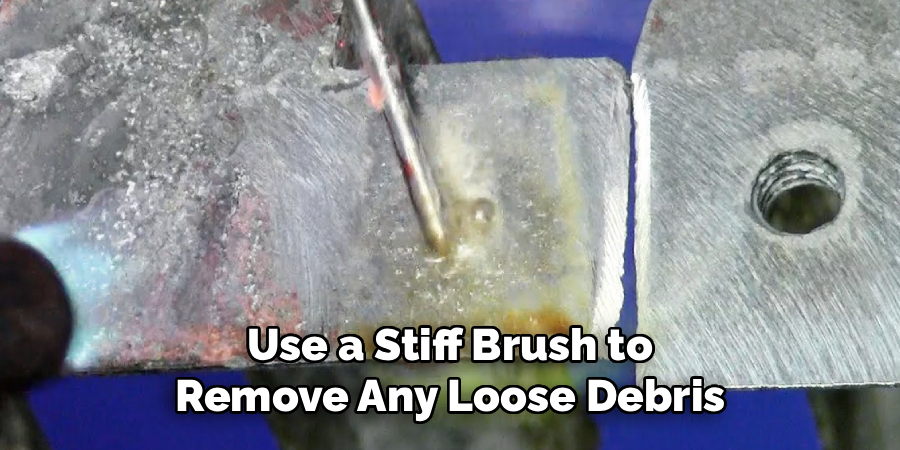
Before you can properly inspect a tool, it needs to be clean. Dirt, grease, and grime can easily hide hairline cracks, rust spots, and other subtle signs of wear. Use a stiff brush to remove any loose debris, sawdust, or caked-on mud. For more stubborn grime, a rag dampened with a degreaser or mineral spirits works well. Wiping the tool clean provides a clear surface, allowing you to see the metal’s true condition. This simple preparation is the essential first step for an accurate and thorough inspection, ensuring no potential issue goes unnoticed.
Step 2: Perform a Thorough Visual Inspection
With the tool clean, begin with a detailed visual check. Hold the tool under a bright light and slowly rotate it, examining every surface. Look for obvious signs of damage such as deep gouges, chips, or significant dents. Pay close attention to high-stress areas like the striking face of a hammer, the jaws of a wrench, or the tip of a screwdriver. Also, look for any discoloration, which could indicate that the metal has been overheated and lost its temper, or hardness. This initial visual sweep will help you identify the most apparent problems right away.
Step 3: Check for Cracks and Fractures
Hairline cracks are one of the most dangerous forms of damage because they can lead to sudden, catastrophic failure under load. These can be difficult to spot. Examine the tool closely, especially around connection points, such as where a metal head joins a handle, and in corners or sharp angles where stress concentrates. Flexing the tool slightly (if applicable and safe to do so) can sometimes make a crack more visible. If you discover a crack, no matter how small, the tool is no longer safe to use and must be replaced immediately.
Step 4: Inspect Striking Faces
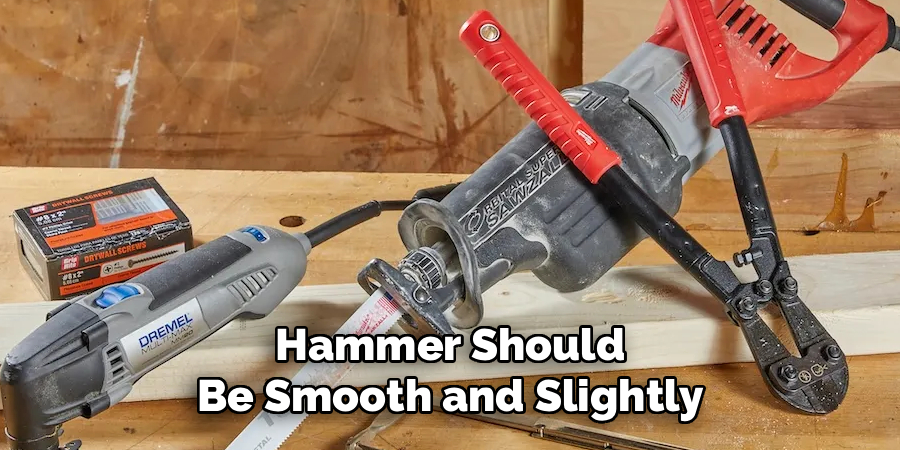
For tools designed for impact, like hammers, mallets, and chisels, the condition of the striking face is critical. The face of a hammer should be smooth and slightly convex, or crowned. If it has become “mushroomed”—where the metal has started to splay out and curl over the edges from repeated impacts—it is a serious hazard. These mushroomed edges can become brittle and chip off, sending sharp metal fragments flying. A mushroomed striking face or chisel head should be dressed (ground back to its proper shape) or the tool should be retired.
Step 5: Examine Edges and Tips
For cutting tools, screwdrivers, and pry bars, the business end is everything. Inspect the cutting edges of chisels, axes, or snips for nicks, chips, or dullness. A damaged cutting edge will not only perform poorly but can also be more likely to slip, causing injury. Similarly, check the tip of a screwdriver. If it is worn, rounded, or chipped, it will not grip the screw head properly. This can lead to stripping the screw or a dangerous slip of the hand. These tools need to be sharpened, reshaped, or replaced.
Step 6: Look for Bends and Deformities
Many tools are designed to be perfectly straight and true. Place tools like pry bars, long wrenches, or saw blades on a flat surface to check for any bends, warps, or twists. Roll the tool to see if it wobbles. A bent pry bar has lost its structural integrity and can snap unexpectedly when put under pressure. A warped saw blade will not cut straight. This check is crucial for any tool that relies on its shape and rigidity to function correctly and safely, as even a slight deformity can compromise its performance.
Step 7: Assess for Rust and Corrosion
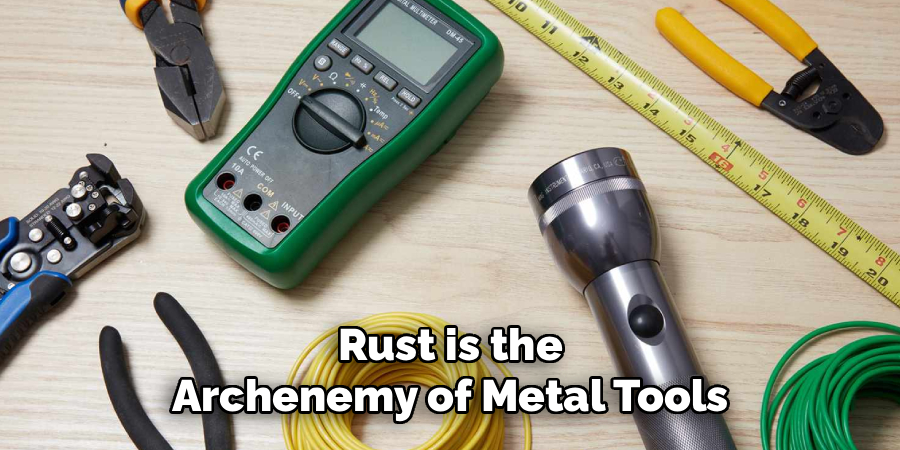
Rust is the archenemy of metal tools. While a light dusting of surface rust can often be cleaned off with some steel wool and oil, deeper pitting and corrosion are more serious. Pitting indicates that the rust has eaten away at the metal, creating weak spots that can compromise the tool’s strength. Pay special attention to joints and moving parts, where rust can cause a tool to seize up or operate poorly. Regular cleaning and applying a light coat of oil after use can prevent rust from forming in the first place.
Step 8: Check Handles and Grips
The inspection isn’t just about the metal parts. The handle is your connection to the tool, and its integrity is vital for control and safety. For tools with wooden handles, check for splits, cracks, or looseness where the head is attached. For tools with plastic or rubber grips, look for deep cuts, cracks, or areas where the grip is peeling away or has become oily and slick. A damaged handle can break during use or cause you to lose your grip, leading to a dangerous lack of control over the tool.
Frequently Asked Questions (FAQ)
What Is a “Mushroomed” Chisel and Why Is It Dangerous?
A mushroomed chisel is one where the striking end (the end you hit with a hammer) has flattened and splayed out from repeated impacts. This creates a lip of overworked, brittle metal around the edge. This lip can easily fracture and break off during a hammer blow, sending sharp metal shards flying at high velocity, which can cause serious eye or skin injuries.
How Can I Tell if a Crack in a Hammer Handle Is Serious?
Any crack in a tool handle should be considered serious. A crack in a wooden handle compromises its structural integrity and can cause the head to fly off during a swing. For fiberglass or composite handles, even a small fracture can propagate quickly under stress. If you see a crack of any size, the safest course of action is to replace the handle or the entire tool.
Can a Rusted Tool Still Be Used?

It depends on the severity of the rust. Light surface rust can usually be removed with a wire brush or fine-grit sandpaper, and the tool will be fine to use after it’s cleaned and oiled. However, if the rust has caused deep pits or flaking (scaling), it means the metal has lost thickness and strength. In this case, the tool may no longer be safe, especially if it’s a high-stress tool like a wrench or hammer.
What Is the Best Way to Store Metal Tools to Prevent Damage?
Proper storage is key to preventing damage.
- Keep tools in a dry environment to prevent rust.
- Store them in a toolbox, on a pegboard, or in drawers to protect them from accidental drops and dings.
- Avoid piling tools on top of each other, as this can chip cutting edges and damage surfaces.
- Wipe tools down with a light coat of oil before long-term storage.
How Often Should I Inspect My Tools?
It’s a good habit to give a tool a quick visual check every time you use it. A more thorough inspection, like the one outlined in this guide, should be performed at least a few times a year, or more frequently for tools that you use heavily. For professionals who use their tools daily, a weekly or monthly in-depth check is recommended.
Conclusion
Taking a few minutes to inspect your tools is a small investment that pays huge dividends in safety and performance. A damaged tool is an unsafe tool, and identifying issues before they cause a failure is one of the most important responsibilities of any DIYer or craftsperson.
By making these simple checks a regular part of your routine, you ensure that your tools are always ready for the job and that you can work with confidence. Now that you have a clear understanding of how to check metal tools for damage, you can protect yourself and preserve the longevity of your valuable collection.
About
Mirat Rate is a skilled author for The Metalix, bringing 6 years of expertise in crafting a wide range of The Metalix. With a strong background in metalwork, Mirat’s knowledge spans various types of fixtures, from decorative pieces to functional hardware, blending precision with creativity. His passion for metalworking and design has made him a trusted resource in the industry.
Professional Focus:
Expert in Metal Fixtures : Mirat aesthetic specializes in creating durable and innovative metal fixtures, offering both appeal and functionality. His work reflects a deep understanding of metalworking techniques and materials.
Sustainability Advocate : He is dedicated to using sustainable practices, ensuring that every fixture is crafted with eco-friendly methods while maintaining high-quality standards.
In his writing for Metal Fixes, Mirat provides valuable insights into the latest trends, techniques, and practical advice for those passionate about metal fixtures, whether they are professionals or DIY enthusiasts. His focus on combining artistry with engineering helps others discover the true potential of metal in design.