
A steel measuring tape is one of the most essential tools in any toolbox. It gets dropped, dragged through sawdust, and exposed to all sorts of job site grime. Over time, a layer of dirt, oil, and debris can build up on the blade, making the markings difficult to read and compromising your measurement accuracy. Worse, moisture and dirt can lead to rust, which can permanently damage the tape and make it retract poorly.
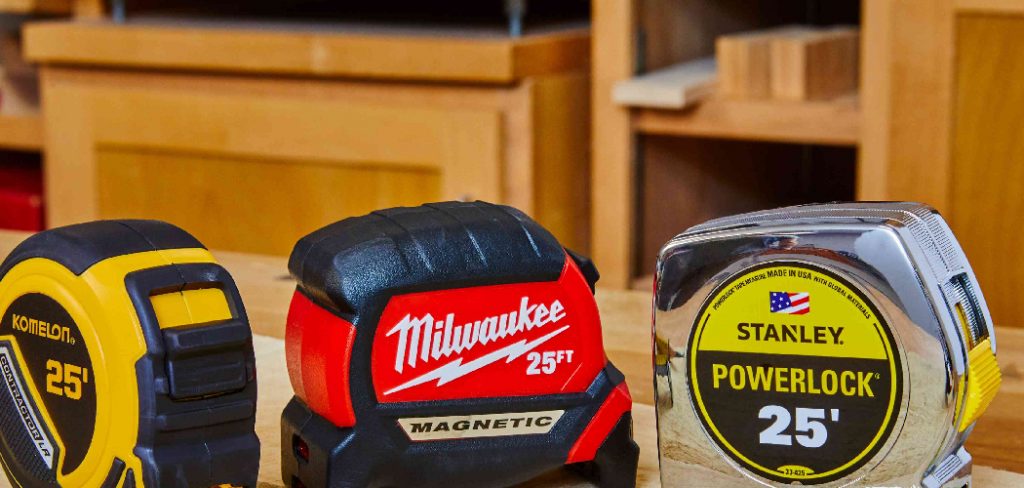
A clean tape is an accurate tape. This guide will walk you through a simple, effective process of how to clean a steel measuring tape, helping you maintain its performance and extend its life.
Keeping your steel measuring tape in top condition doesn’t have to be a challenge. With a little care and attention, you can ensure it stays reliable and functional for every project. Regular cleaning not only helps maintain the tape’s accuracy but also prevents long-term damage caused by rust and debris. By following a few straightforward steps, you’ll be able to preserve your tool’s quality and extend its lifespan.
Why Proper Maintenance Matters
Proper maintenance of your steel measuring tape is essential for a number of reasons. First, it ensures consistent accuracy, which is crucial for achieving precise measurements in any project. Over time, dirt, debris, and rust can compromise the tape’s markings and retracting mechanism, leading to errors and inefficiency. Additionally, a well-maintained tape is safer to use, as damaged edges or worn-out mechanisms can pose risks. Lastly, taking good care of your measuring tape extends its lifespan, saving you money and reducing waste over time.
When it comes to caring for your measuring tape, there are a few simple steps you can follow. First and foremost, always keep your tape clean and free of any dirt or debris. This can be done by wiping down the tape with a soft, damp cloth after each use. Avoid using harsh cleaning chemicals as they can damage the markings on the tape.
8 Step-by-Step Guide on How to Clean a Steel Measuring Tape
Step 1: Gather Your Cleaning Supplies
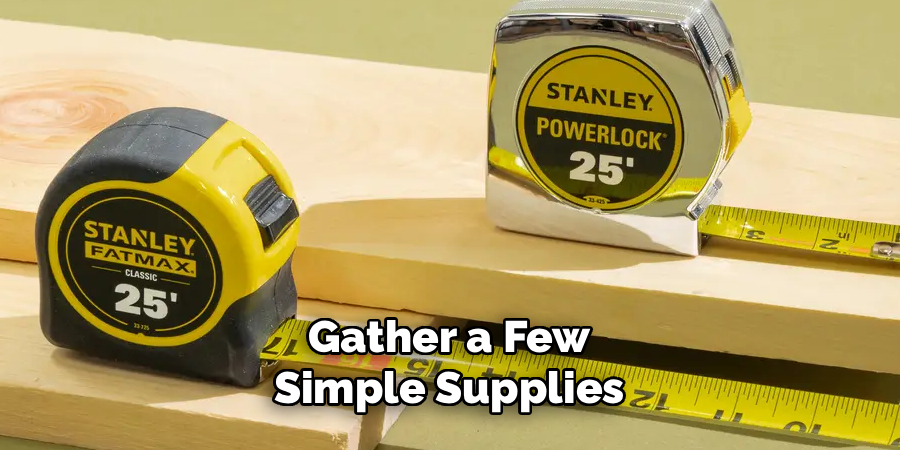
Before you begin, gather a few simple supplies to make the job quick and easy. You will need a bucket or container of warm water mixed with a few drops of mild dish soap, several clean, soft cloths (microfiber works great), an old toothbrush or soft-bristled brush, and a can of paste wax or a silicone lubricant spray. It’s also important to have a dry, clean work surface where you can safely extend the tape without it getting dirty again. Having all your materials organized and within reach will streamline the entire cleaning process from start to finish.
Step 2: Fully Extend and Lock the Tape
Find a clean, flat surface where you have enough space to pull the entire blade out of the tape measure’s housing. Carefully extend the tape to its full length. Once it is fully extended, engage the locking mechanism to prevent it from retracting while you work. This is a crucial safety step, as a retracting steel tape can move with surprising force and cause cuts. Inspect the fully extended blade for any significant damage, such as deep rust spots, kinks, or tears. If the tape is severely damaged, cleaning may not be enough, and it might be time for a replacement.
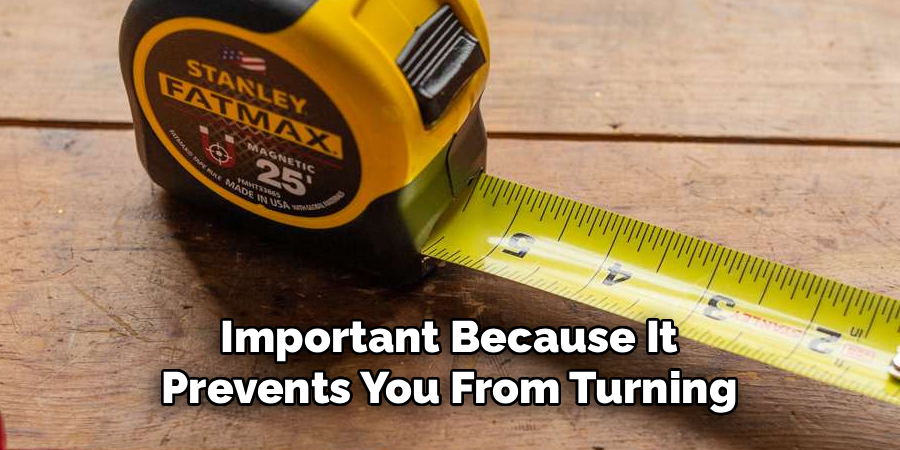
Step 3: Initial Dry Cleaning
Before using any liquids, perform a dry cleaning of the blade to remove all loose debris. Hold one end of the tape and use a clean, dry cloth to wipe down the entire length of the blade on both sides. This will remove sawdust, dirt, and other loose particles. For any grime caked into the corners or around the hook, use a soft-bristled brush or an old toothbrush to gently scrub it away. This initial pass is important because it prevents you from turning the loose dirt into a muddy slurry when you start the wet cleaning phase.
Step 4: Wash with Soapy Water
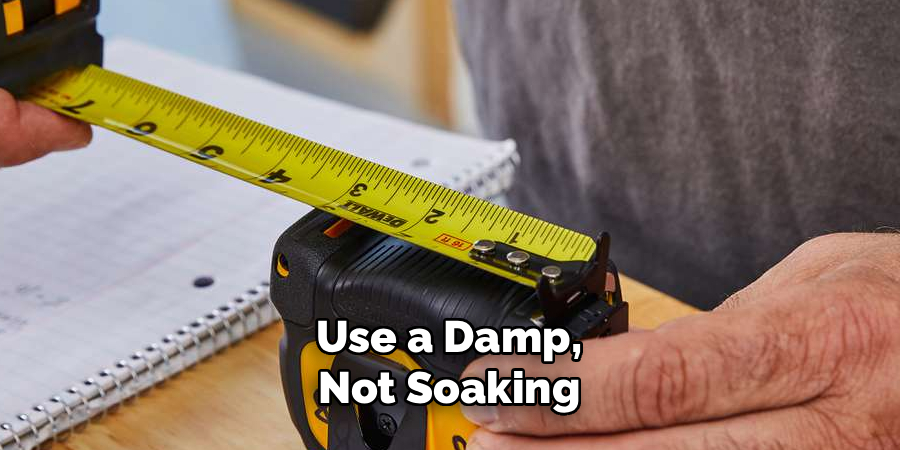
Now it’s time for a deeper clean. Dip a fresh, soft cloth into your bucket of warm, soapy water. Wring the cloth out thoroughly so that it is damp, not soaking wet. You want to avoid introducing excessive moisture into the tape’s housing. Carefully wipe down the entire length of the blade, working in sections. The mild dish soap is excellent for cutting through greasy fingerprints and stubborn grime without being harsh enough to damage the painted markings or the protective coating on the blade. Pay close attention to any particularly dirty spots.
Step 5: Tackle Stubborn Grime and Light Rust
If you encounter sticky residues like sap or adhesive, or light surface rust, you may need a bit more cleaning power. For sticky spots, a cloth dampened with a small amount of mineral spirits or rubbing alcohol can be effective. For very light surface rust, you can often gently buff it away using a non-abrasive scouring pad or a pencil eraser. Be extremely gentle to avoid scratching the blade or removing the measurement markings. For any significant rust, it’s often better to leave it than to risk damaging the tape’s integrity by scrubbing too hard.
Step 6: Thoroughly Dry the Entire Blade
This is arguably the most important step in the entire process. Any moisture left on the steel blade or inside the housing will lead to rust. Take a completely dry, clean microfiber cloth and meticulously wipe down the entire length of the blade on both sides. Make sure it is bone dry. To be extra cautious, it is a good idea to let the fully extended tape air-dry for another 15 to 20 minutes on your clean work surface. This ensures that any residual moisture, especially around the hook and rivets, has a chance to evaporate completely.
Step 7: Apply a Protective Wax Coating
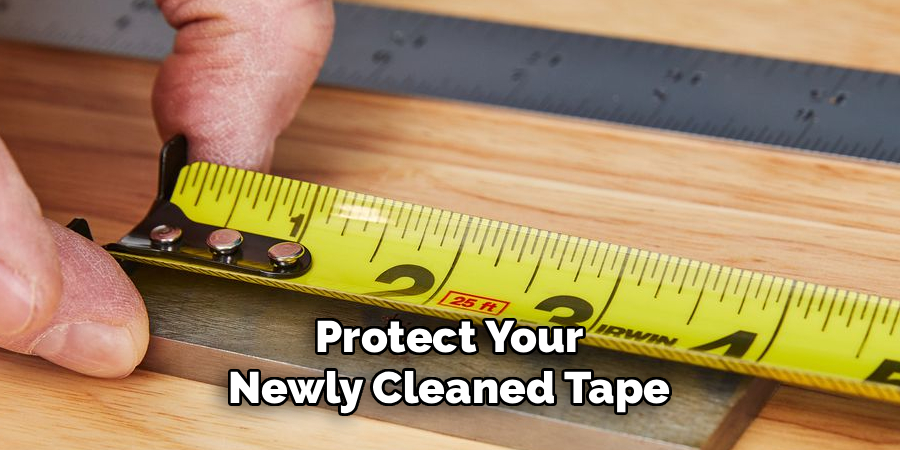
To protect your newly cleaned tape and help it glide smoothly, applying a protective coating is a great final touch. Take a small amount of paste wax (car wax or furniture wax works well) on a clean, soft cloth. Apply a very thin, even layer over the entire surface of the blade. This not only provides a barrier against moisture to help prevent future rust but also lubricates the blade, allowing it to retract more smoothly into the housing. It also makes future cleanings easier as dirt will have a harder time sticking to the slick surface.
Step 8: Retract and Wipe the Housing
Once the wax has been applied, you can carefully disengage the lock and allow the tape to retract slowly back into its case. Guide the blade with your hand to prevent it from snapping back, which can damage the internal mechanism. After the blade is fully retracted, take a moment to clean the exterior housing. Use your damp, soapy cloth to wipe down the case, removing any accumulated dirt and grime. Dry the housing thoroughly with a clean cloth. A clean case completes the job and makes the entire tool feel new again.
Alternative Tape Measure Materials
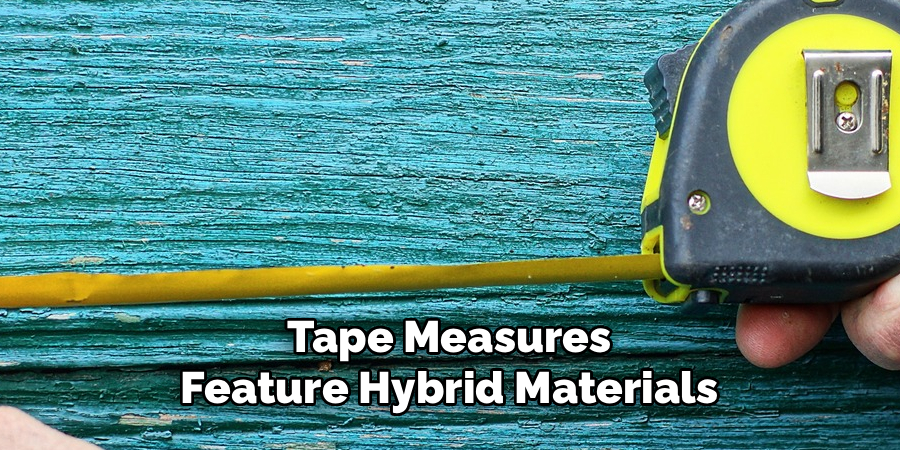
Tape measures are commonly made of metal, but alternative materials are available, each suited to specific tasks. For instance, fiberglass tape measures are a popular option for outdoor use due to their weather resistance and flexibility. They do not rust or corrode, making them ideal for damp or humid environments. Additionally, cloth tape measures are lightweight and portable, often used in tailoring and sewing applications for their soft and flexible nature, which glides smoothly over fabric. Meanwhile, some modern tape measures feature hybrid materials that combine durability with lightweight properties, catering to more versatile uses.
Frequently Asked Questions
Can I Use WD-40 to Clean My Measuring Tape?
While WD-40 is great for displacing water and can help with rust, it is an oil-based lubricant that can leave a residue, attracting more dust and sawdust over time. It is better to clean the tape with mild soap and water and then use a dry lubricant like paste wax or a silicone spray for protection.
What Should I Do if My Tape Measure Is Very Rusty?
For heavy rust, cleaning may not be sufficient. Aggressive scrubbing or using harsh chemicals can remove the rust but will likely also remove the measurement markings, rendering the tape useless. If the rust is severe and impacts the readability or integrity of the tape, it is safer and more practical to invest in a new measuring tape.
How Can I Prevent My Measuring Tape from Getting Dirty?
While it’s impossible to keep it perfectly clean on a job site, you can minimize buildup. Make it a habit to wipe the blade down with a dry cloth before retracting it, especially after it has been dragged through dirt or sawdust. This simple action prevents you from pulling debris directly into the housing, which is the primary cause of retraction problems.
My Tape Measure Retracts Slowly. Will Cleaning Help?
Yes, in many cases, a slow or sticky retraction is caused by dirt and grime inside the housing. A thorough cleaning of the blade as described in this guide will often solve the problem. Applying a thin coat of paste wax after cleaning will further lubricate the blade, helping it glide more smoothly and improving the retraction speed.
Is It Safe to Get the Inside of the Tape Measure Wet?
No, you should avoid getting water inside the housing at all costs. The internal spring mechanism is made of steel and will rust very quickly if it gets wet, likely ruining the tape measure. This is why it’s so important to use a damp, not soaking, cloth when cleaning and to ensure the blade is completely dry before retracting it.
Conclusion
A steel measuring tape is a precision instrument, and keeping it clean is the best way to ensure it remains accurate and functional for years to come. A dirty, unreadable blade can lead to costly measurement errors, while a rusty mechanism can make the tool frustrating to use. By following the simple steps of washing, drying, and waxing the blade, you can easily restore your trusty tape to prime condition. Now that you have a clear guide on how to clean a steel measuring tape, you can add this quick maintenance task to your routine and keep your most essential tool in top shape.
About
Mirat Rate is a skilled author for The Metalix, bringing 6 years of expertise in crafting a wide range of The Metalix. With a strong background in metalwork, Mirat’s knowledge spans various types of fixtures, from decorative pieces to functional hardware, blending precision with creativity. His passion for metalworking and design has made him a trusted resource in the industry.
Professional Focus:
Expert in Metal Fixtures : Mirat aesthetic specializes in creating durable and innovative metal fixtures, offering both appeal and functionality. His work reflects a deep understanding of metalworking techniques and materials.
Sustainability Advocate : He is dedicated to using sustainable practices, ensuring that every fixture is crafted with eco-friendly methods while maintaining high-quality standards.
In his writing for Metal Fixes, Mirat provides valuable insights into the latest trends, techniques, and practical advice for those passionate about metal fixtures, whether they are professionals or DIY enthusiasts. His focus on combining artistry with engineering helps others discover the true potential of metal in design.