
Iron window grills add a layer of security and timeless elegance to any home. Their intricate designs can be a beautiful architectural feature, but over time, they are exposed to the elements. Dust, grime, pollen, and, most importantly, rust can accumulate, making them look neglected and diminishing your home’s curb appeal. A thorough cleaning not only restores their beauty but also helps protect the metal and extend its lifespan. While it might seem like a daunting task, it’s a very straightforward process. This guide will provide clear instructions on how to clean iron window grills, ensuring you can get them looking their best.
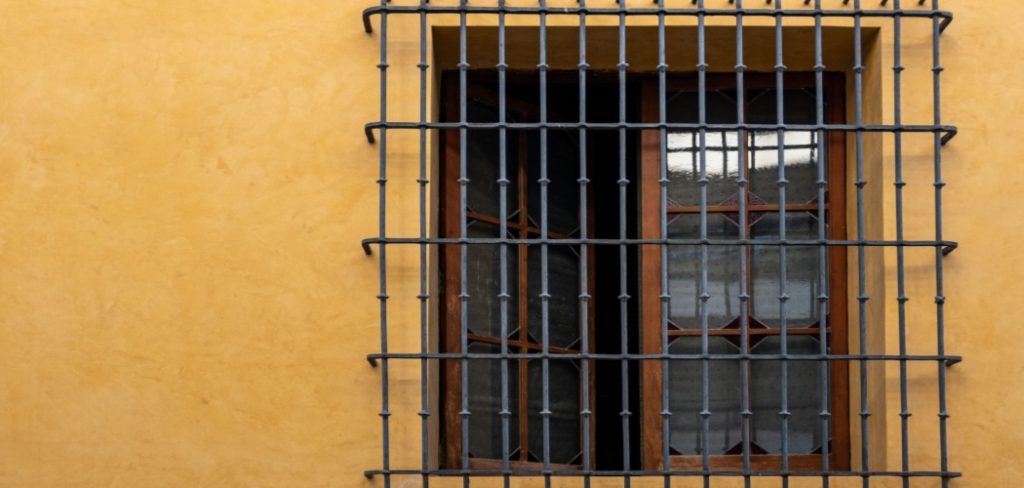
Cleaning iron window grills is essential to maintain their durability and visual appeal. Over time, exposure to various weather conditions can lead to dirt build-up and corrosion, but a little effort can make a big difference. By following a few simple steps and using the right tools, you can efficiently restore the grills to their former glory and protect them against further damage. This process not only enhances the overall look of your home but also prolongs the life of your iron fittings.
7 Step-by-Step Guide on How to Clean Iron Window Grills
Step 1: Prepare the Area and Gather Supplies
Before you begin, take a few minutes to prepare your workspace. Lay down old newspapers or a plastic drop cloth on the floor or ground directly beneath the window grill. This will catch any dust, rust flakes, and water drips, making cleanup much easier and protecting your floors or garden beds. Next, gather your supplies. You’ll need a bucket of warm water with mild dish soap, a few microfiber cloths, a stiff-bristled brush, a wire brush for rust, sandpaper, and protective gear like gloves and safety glasses to keep your hands and eyes safe from debris.
Step 2: Start with a Thorough Dry Brushing
The first step in the cleaning process is to remove all the loose dirt, dust, cobwebs, and flaky rust from the grills. Using a stiff-bristled brush, go over the entire surface of the ironwork. Pay special attention to the joints, corners, and intricate parts of the design where debris loves to hide. This initial dry brushing is crucial because it prevents you from turning loose dirt into a muddy mess when you introduce water. It allows the subsequent wet cleaning to focus on the more stubborn, stuck-on grime and stains for a more effective overall clean.
Step 3: Scrub Away the Grime
Now it’s time for a wet wash. Fill your bucket with warm water and add a few drops of mild dish soap to create a gentle cleaning solution. Dip a microfiber cloth or a non-abrasive scrub brush into the soapy water and begin washing the grills. Work from top to bottom, scrubbing every bar and scroll. The soap will help break down grease, pollen, and accumulated grime. For tight spaces and detailed areas that are hard to reach with a cloth, an old toothbrush can be an excellent tool for a more targeted scrub.
Step 4: Address Any Rust Spots
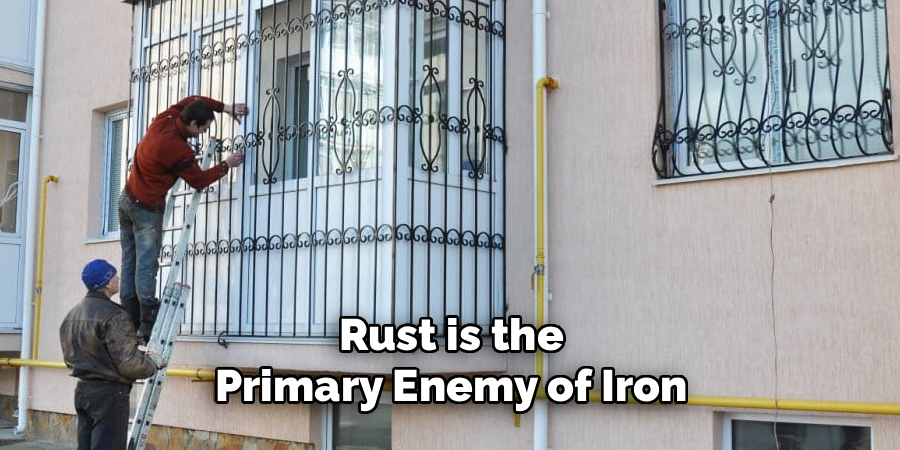
Rust is the primary enemy of iron. If you find any rusted patches, they need to be treated to prevent them from spreading. For light surface rust, a firm scrub with your wire brush should be enough to remove it. For more stubborn or thicker rust, you may need to use medium-grit sandpaper to sand the area down to the bare metal. The goal is to remove all traces of the flaky, orange-brown rust, creating a smooth surface that is ready for priming and painting, which is essential for long-term protection.
Step 5: Rinse and Dry Completely
After scrubbing and treating any rust, it’s vital to rinse the grills thoroughly to remove all soap residue and loosened debris. You can use a clean cloth dipped in plain water or a spray bottle filled with water to rinse the ironwork. Any soap left behind can attract more dirt and interfere with paint adhesion. Once rinsed, drying the grills completely is just as important. Use a clean, dry microfiber cloth to wipe down all surfaces. Allowing iron to air dry can promote the formation of new rust, so a thorough towel dry is a necessary step.
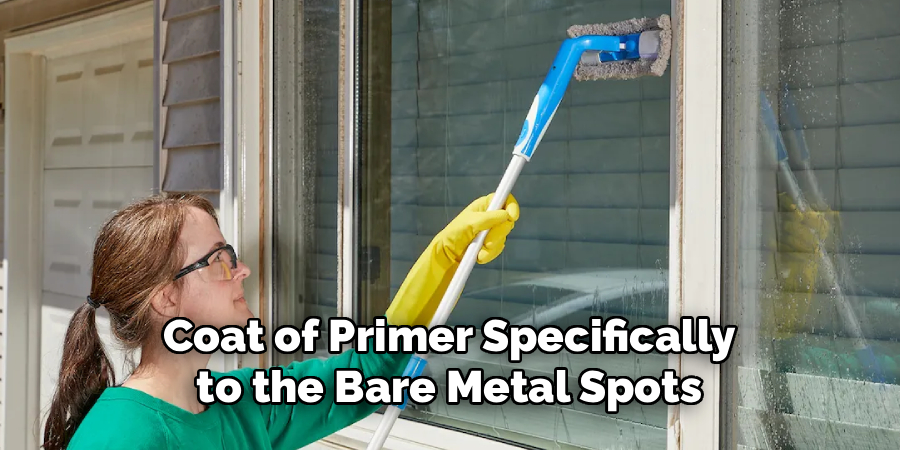
Step 6: Prime the Bare Metal Areas
Anywhere you sanded down to the bare metal to remove rust must be primed. Primer creates a barrier that prevents moisture from reaching the iron, which is what causes rust to form in the first place. Use a rust-inhibiting metal primer, which is available in both spray cans and brush-on formulas. A spray primer is often easier for reaching the intricate parts of a grill design. Apply a thin, even coat of primer specifically to the bare metal spots you treated. Allow the primer to dry completely according to the manufacturer’s instructions on the can.
Step 7: Apply a Fresh Coat of Paint for Protection
Once the primer is fully cured, the final protective step is to apply a fresh coat of paint. Choose a high-quality paint specifically designed for exterior metal. These paints are formulated to withstand the elements and provide a durable, long-lasting finish. Whether you use a spray paint or a brush-on paint, apply a thin, even coat over the entire grill, not just the primed spots. This ensures a uniform color and provides a complete seal against moisture.
A second coat is often recommended for maximum durability and a flawless finish. Allow the paint to fully dry according to the manufacturer’s instructions before using the grill.
Tips for Maintaining Your Grill
Grills are an essential tool for any outdoor cooking enthusiast, and proper maintenance is key to ensuring your grill stays in top shape. Here are some additional tips for maintaining your grill:
- Clean your grill after each use: Regularly cleaning your grill not only helps prevent buildup of grease and food particles, but also ensures that it performs at its best every time you use it. Use a wire brush or scraper to remove any debris from the grates and wipe down the exterior with a damp cloth.
- Protect against rust: As mentioned earlier, rust can significantly damage your grill. To prevent rust, make sure to store your grill in a dry place and cover it when not in use. Additionally, you can apply a coat of oil (such as vegetable or olive oil) to the grates after cleaning to keep them from rusting.
- Check for gas leaks: If you have a gas grill, it is important to regularly check for any gas leaks. You can do this by spraying a mixture of soap and water onto the connections and valves. If bubbles form, there may be a leak which should be addressed immediately.
Frequently Asked Questions
What Is the Best Cleaner for Wrought Iron?
For general cleaning, a simple solution of warm water and a few drops of mild dish soap is both effective and safe for the iron’s finish. For tackling tough stains or mineral deposits, you can use a solution of equal parts white vinegar and water. Avoid using harsh, abrasive chemicals or bleach, as they can damage the paint and metal over time.
How Can I Remove Rust from Iron Grills Without Sanding?
For light surface rust, you can often remove it using a mixture of vinegar and salt or lemon juice and salt to form a paste. Apply the paste to the rusted areas, let it sit for a few hours, and then scrub it off with a wire brush. There are also commercial rust remover gels and sprays available that can dissolve rust chemically, though these should be used with good ventilation.
How Often Should I Clean My Iron Window Grills?
It’s a good practice to clean your iron window grills at least once or twice a year to prevent a heavy buildup of dirt and to catch any rust spots early. A quick wipe-down can be done seasonally, with a more thorough cleaning and rust treatment performed as needed. Regular maintenance is the key to keeping them looking great for decades.
What Type of Paint Is Best for Iron Grills?
You should always use a paint specifically formulated for exterior metal. Look for oil-based or acrylic latex paints that offer rust-inhibiting properties. These paints are designed to be durable and flexible, holding up well to temperature changes and exposure to sun and rain. A direct-to-metal (DTM) paint in a satin or semi-gloss finish is a popular and durable choice.
Can I Prevent My Iron Grills from Rusting?
The best way to prevent rust is to keep the protective paint coating intact. Inspect your grills periodically for any chips, scratches, or signs of wear. Touch up any damaged spots with primer and paint immediately to prevent moisture from reaching the bare metal. Keeping the grills clean from corrosive materials like bird droppings and decaying leaves also helps.
Conclusion
Cleaning and maintaining your iron window grills is a highly rewarding DIY project that instantly boosts your home’s curb appeal and protects your investment. While it requires some time and effort, the process itself is simple. By following the key steps of thorough cleaning, proper rust removal, and applying a protective coating of primer and paint, you can easily restore them to their original glory.
Regular attention prevents small spots of rust from becoming major problems. Now that you have this guide on how to clean iron window grills, you can confidently tackle this task and ensure your home’s ironwork remains beautiful and strong for years to come.
About
Mirat Rate is a skilled author for The Metalix, bringing 6 years of expertise in crafting a wide range of The Metalix. With a strong background in metalwork, Mirat’s knowledge spans various types of fixtures, from decorative pieces to functional hardware, blending precision with creativity. His passion for metalworking and design has made him a trusted resource in the industry.
Professional Focus:
Expert in Metal Fixtures : Mirat aesthetic specializes in creating durable and innovative metal fixtures, offering both appeal and functionality. His work reflects a deep understanding of metalworking techniques and materials.
Sustainability Advocate : He is dedicated to using sustainable practices, ensuring that every fixture is crafted with eco-friendly methods while maintaining high-quality standards.
In his writing for Metal Fixes, Mirat provides valuable insights into the latest trends, techniques, and practical advice for those passionate about metal fixtures, whether they are professionals or DIY enthusiasts. His focus on combining artistry with engineering helps others discover the true potential of metal in design.