
Metal tools are essential in every workshop, but over time, rust can begin to form, making them less effective and potentially damaging their structure. Rust not only affects the appearance of your tools but can also compromise their performance and safety during use.
Maintaining rust-free tools is important for both professionals and hobbyists. This guide on how to remove rust from metal tools will walk you through everything you need to know to remove rust effectively, extend the lifespan of your equipment, and keep your tools looking and working like new.
Tools and Materials You’ll Need
- Wire Brush or Steel Wool
- Sandpaper (Various Grits)
- White Vinegar or Lemon Juice
- Baking Soda
- Rust Remover (Commercial or Homemade)
- Protective Gloves and Eye Protection
- Clean Cloths or Rags
- Container for Soaking Tools
- Oil for Protecting Cleaned Tools
7 Simple Steps on How to Remove Rust From Metal Tools
Step 1: Assess the Rust Damage
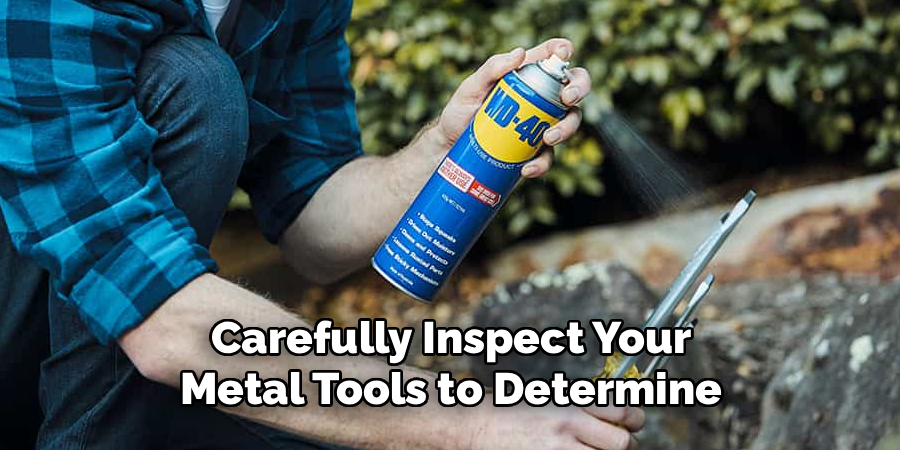
Before starting, carefully inspect your metal tools to determine the extent of the rust. Light surface rust can often be removed with minimal effort, while deeper corrosion may require more intensive methods.
Take note of any pitting or severe rust spots, as these may affect the structural integrity of the tool. Assessing the damage will help you decide the best course of action and what materials you’ll need.
Step 2: Prepare Your Workspace
Choose a well-ventilated area to work in, preferably outdoors or in a garage. Lay down newspapers or a plastic sheet to catch any debris or splashes from cleaning solutions.
Always wear protective gloves and eye protection, as some chemicals and rust flakes can be harmful if they come into contact with your skin or eyes. Proper preparation will make the entire process safer and cleaner.
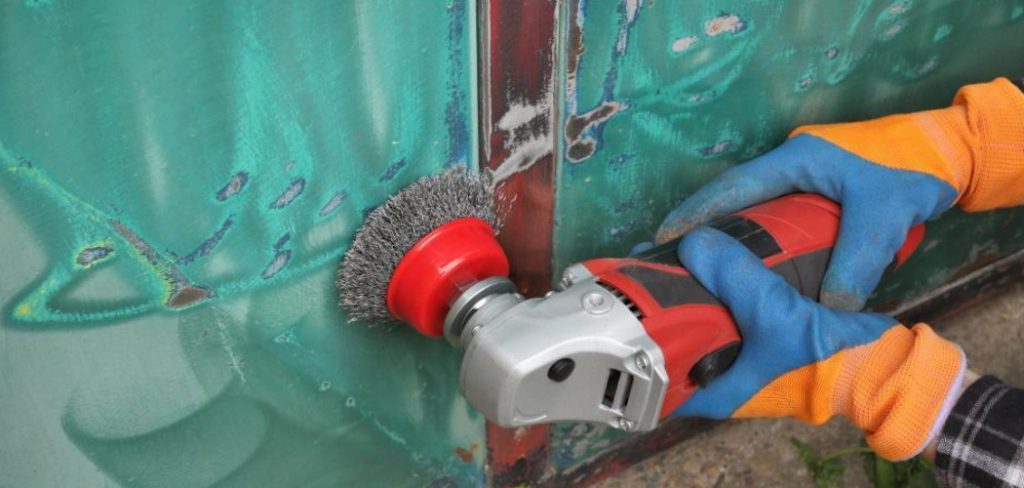
Step 3: Remove Loose Rust
Start by brushing the tool with a wire brush or steel wool to remove any loose flakes of rust. This helps to get rid of the top layer and makes it easier for cleaning solutions to work.
Use firm, even strokes and take your time, as thorough removal at this stage will make later steps more effective. Wipe away any dust or chips with a clean cloth before moving to the next step.
Step 4: Soak the Tool
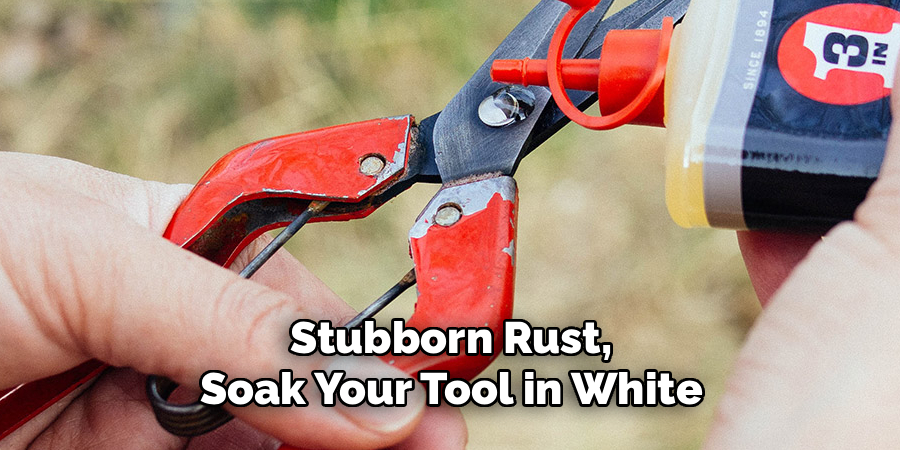
For stubborn rust, soak your tool in white vinegar or lemon juice for several hours or overnight. These acidic solutions help dissolve rust and loosen it from the metal surface.
You can use a container that fits your tool and fully submerge the rusted parts. After soaking, any remaining rust will be significantly softer and easier to remove in the next step.
Step 5: Scrub and Sand
After soaking, use a brush or coarse sandpaper to scrub away the dissolved rust. For stubborn areas, reapply vinegar or use a rust remover to break down any remaining corrosion.
Carefully sand the surface in a circular motion for more persistent spots. This step may take some time, but it will result in noticeably cleaner and smoother metal.
Step 6: Neutralize and Rinse
Once all rust has been removed, it’s important to neutralize any acidic residue to prevent further rusting. Rinse the tool thoroughly with water and wipe it dry with a clean cloth.
You can also use a solution of baking soda and water to help neutralize acids left behind from cleaning. This step ensures your tools remain protected and rust-free after cleaning.
Step 7: Condition and Protect
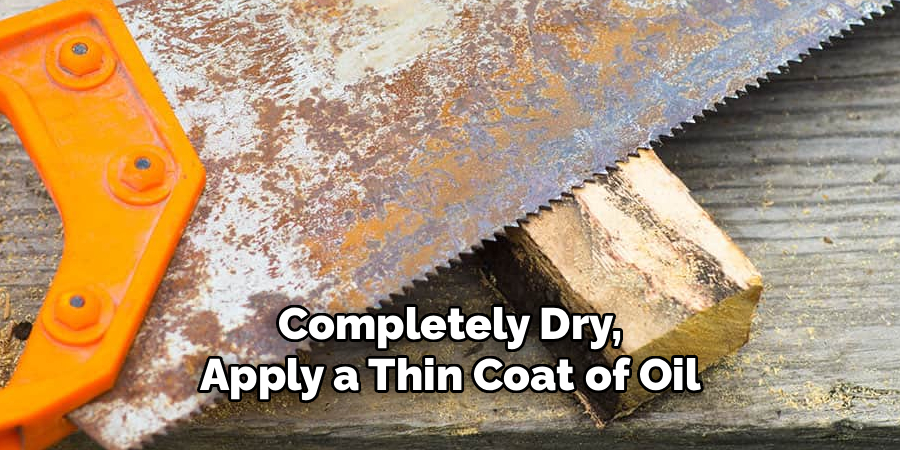
When your tool is completely dry, apply a thin coat of oil to protect the metal and prevent rust from returning. Use machine oil, WD-40, or a similar product made for tools.
Store the tools in a dry location and check them regularly for signs of rust. Regular oiling and maintenance will help preserve your tools for years to come.
Following these steps on how to remove rust from metal tools can help extend the life of your tools and ensure they continue to work properly. Regular cleaning and maintenance will not only keep your tools in good condition but also save you time and money from having to replace them frequently.
Additional Tips
- Regularly inspect and clean your tools to prevent rust buildup in the first place.
- Store tools in a moisture-free environment, using silica gel packs or a dehumidifier if necessary.
- Avoid leaving tools wet or in damp conditions after use—always dry them thoroughly.
- Consider using protective cases or covers to further shield tools from environmental moisture.
- Applying a rust inhibitor spray periodically can provide extra protection, especially for frequently used items.
- For intricate tools, use cotton swabs or old toothbrushes to reach tight spots while cleaning.
Common Mistakes to Avoid
- Not using proper safety equipment can lead to injuries.
- Skipping the soaking step for stubborn rust makes removal much harder.
- Using overly abrasive materials that may scratch or damage the tool’s surface.
- Failing to neutralize and dry tools completely, which encourages new rust formation.
- Storing tools without adequate protection after cleaning.
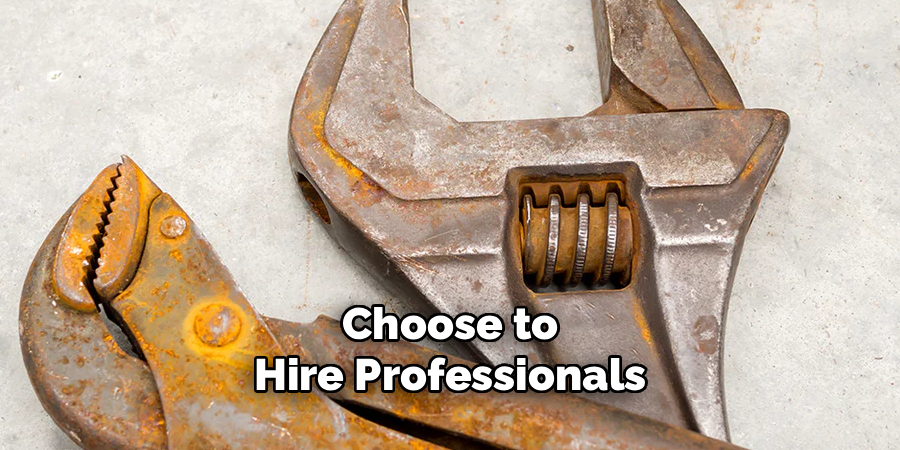
Do You Need To Use Professionals?
For most regular hand tools, rust removal can be a DIY project with excellent results. However, if you’re dealing with valuable antiques or severely rusted power tools, professional restoration services might be worth considering.
Professionals have the experience, specialized tools, and chemicals to handle complex rust removal without further damaging sensitive materials. This is particularly important for tools with moving parts or historical significance.
Relying on experts ensures that restoration is thorough, safe, and tailored to the unique needs of each tool. While cost is a consideration, professional intervention can often save a tool that might otherwise be unsalvageable.
Weigh the sentimental and financial value of your tools before deciding whether to hire a professional or tackle the project yourself.
How Much Will It Cost?
Removing rust from tools is often affordable, especially if you use household products like vinegar and baking soda. Most items on the tools and materials list are inexpensive and can be found at hardware stores or supermarkets.
Commercial rust removers and protective oils vary in price, but even premium products are generally cost-effective compared to replacing tools. For DIY jobs, expect to spend anywhere from $10 to $30 in supplies for a standard set of tools.
If you choose to hire professionals, costs will be higher and can range from $30 to $100 or more per tool, depending on the level of service needed. Specialized restoration for antique or precision tools may incur extra charges.
Ultimately, the cost depends on the size, condition, and number of tools, as well as the methods and products you select for rust removal.
Frequently Asked Questions
Q1: What Causes Rust on Metal Tools?
Rust forms when iron or steel reacts with moisture and oxygen in the air, creating iron oxide. Poor storage conditions, like high humidity or exposure to wate, can accelerate this process, making regular maintenance essential.
Understanding the factors that lead to rust can help you take preventive measures and prolong the lifespan of your tools. Always dry your tools thoroughly after use and consider protective coatings when storing them.
Q2: How Often Should I Remove Rust From My Tools?
The frequency of rust removal depends on how often you use your tools and the environment in which they’re kept. For regularly used tools stored in dry conditions, a semi-annual inspection and cleaning may suffice.
If you notice any discoloration or surface rust appearing, address it as soon as possible to prevent further damage. Consistent care helps minimize the work needed in the long run.
Q3: Can Homemade Solutions Be as Effective as Commercial Products?
Yes, many homemade solutions like vinegar and baking soda are safe and effective for removing rust from most tools. They work well for mild to moderate rust and are a cost-effective alternative to commercial products.
However, for severe corrosion or valuable items, professional products or assistance may provide better results. Always test a small area before using any solution on your entire tool.
Q4: Is It Safe to Use Power Tools After Rust Removal?
If done correctly, removing rust can restore tools to a safe, usable condition. However, it’s important to inspect power tools for any damage caused by corrosion before using them.
Pay special attention to electrical parts or moving mechanisms. If you’re unsure, consider having a professional examine the tool to ensure it meets safety standards.
Conclusion
Rust is a common problem that can shorten the life of your metal tools, but with the right approach, you can restore them to their former glory. By following the steps on how to remove rust from metal tools outlined above and practicing good maintenance habits, you can keep your tools functional, safe, and rust-free for years to come.
Remember, a little effort now goes a long way toward preserving your investment and ensuring that your favorite tools are always ready when you need them.
About
Mirat Rate is a skilled author for The Metalix, bringing 6 years of expertise in crafting a wide range of The Metalix. With a strong background in metalwork, Mirat’s knowledge spans various types of fixtures, from decorative pieces to functional hardware, blending precision with creativity. His passion for metalworking and design has made him a trusted resource in the industry.
Professional Focus:
Expert in Metal Fixtures : Mirat aesthetic specializes in creating durable and innovative metal fixtures, offering both appeal and functionality. His work reflects a deep understanding of metalworking techniques and materials.
Sustainability Advocate : He is dedicated to using sustainable practices, ensuring that every fixture is crafted with eco-friendly methods while maintaining high-quality standards.
In his writing for Metal Fixes, Mirat provides valuable insights into the latest trends, techniques, and practical advice for those passionate about metal fixtures, whether they are professionals or DIY enthusiasts. His focus on combining artistry with engineering helps others discover the true potential of metal in design.