
Repainting a metal gate is a simple yet effective way to enhance its appearance and extend its lifespan. Over time, metal gates can accumulate rust, chips, and faded paint due to exposure to the elements. With the right tools and techniques, you can restore your gate to its former glory, adding a fresh and durable finish that protects it for years to come.
A metal gate is a beautiful and functional addition to any property, but exposure to the elements can take its toll.
Over time, you might notice rust spots, faded color, and paint that is peeling or flaking away. This not only looks unsightly but also leaves the metal vulnerable to further corrosion and damage. Fortunately, giving it a fresh coat of paint is a highly effective DIY project that can restore its original beauty and provide crucial protection for years to come. This guide will provide a clear, beginner-friendly walkthrough of how to repaint a metal gate, ensuring a durable, professional-looking finish.
Why Repaint Your Metal Gate?
Repainting your metal gate is essential for both aesthetic and functional reasons. Over time, exposure to sunlight, rain, and other environmental elements can cause your gate’s original coating to deteriorate, leaving the metal exposed. This not only diminishes the gate’s appearance but also accelerates rust formation, compromising its structural integrity. By repainting, you not only rejuvenate its visual appeal but also add a protective layer that prevents corrosion and extends the life of the material. A well-maintained gate enhances your property’s curb appeal while ensuring it remains strong and reliable for years to come.
Step-by-Step Guide on How to Repaint a Metal Gate
Step 1: Gather Your Safety Gear and Supplies
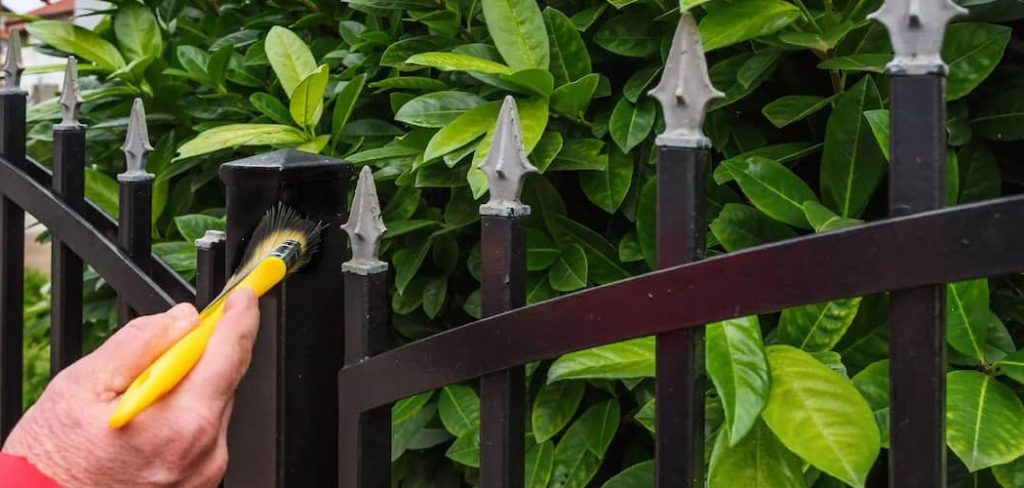
Before you begin, your safety is the top priority. When you’re removing old paint and rust, fine particles and dust will become airborne. It is essential to wear safety goggles, a dust mask or respirator, and heavy-duty gloves to protect yourself. You should also lay down a large drop cloth underneath the gate to protect your driveway or lawn and make cleanup easier. Your primary supplies will include a wire brush, sandpaper or a power sander, a degreasing cleaner, clean cloths, a high-quality metal primer, and paint specifically designed for exterior metal use.
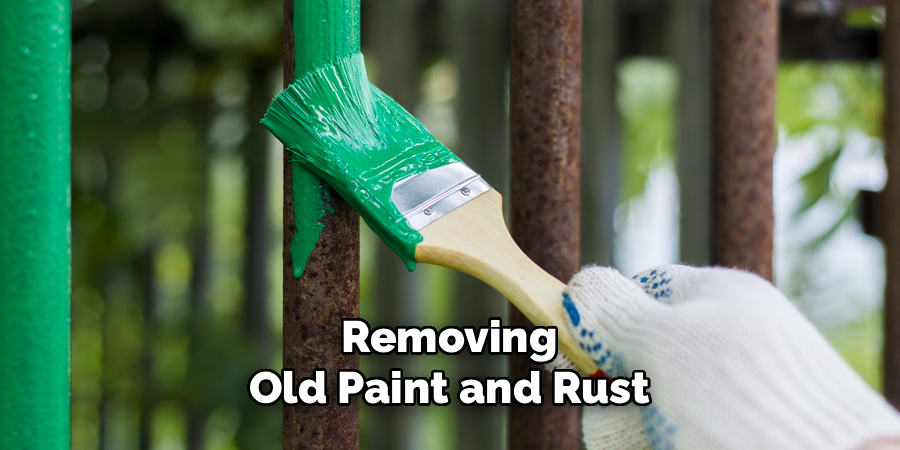
Step 2: Remove Loose Paint and Rust
The most critical part of a lasting paint job is preparation. You must remove all loose, flaking paint and surface rust before applying any new coats. Start with a stiff wire brush, vigorously scrubbing all the surfaces of the gate. Pay special attention to joints, corners, and detailed scrollwork where rust often starts. For larger flat areas or stubborn patches, a power drill with a wire wheel attachment or an orbital sander can save you a significant amount of time and effort. The goal is to get back to a solid, stable surface.
Step 3: Sand the Surface
After removing the major flakes and rust, the next step is to create a smooth, uniform surface that the new primer can grip onto. Using medium-grit sandpaper (around 80- to 120-grit), sand the entire gate. This process, known as scuffing, dulls any remaining glossy old paint and feathers the edges where old paint meets bare metal. This ensures that the new paint job won’t have visible lines or an uneven texture. Your goal is to create a consistently dull, slightly rough surface across the entire gate, which provides the perfect “tooth” for the primer to bond securely.
Step 4: Clean the Gate Thoroughly
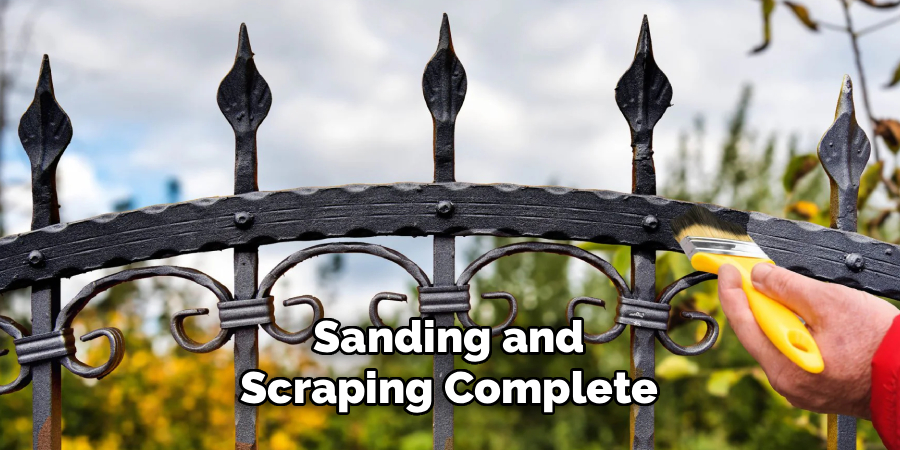
With all the sanding and scraping complete, the gate will be covered in dust and grime. This residue must be completely removed, or the new paint will fail to adhere properly. Prepare a bucket of warm water with a degreasing cleaner or a simple dish soap solution. Using a sponge or cloth, wash down the entire gate from top to bottom. For stubborn greasy spots, a dedicated degreaser may be necessary. After washing, rinse the gate thoroughly with clean water from a hose to remove all soap residue. Let the gate dry completely before proceeding.
Step 5: Apply a Metal Primer
Priming is a non-negotiable step. Primer ensures proper paint adhesion and provides an essential barrier against future rust. Choose a high-quality, rust-inhibiting primer specifically designed for exterior metal. If your gate has any remaining bare metal spots, using a zinc-based or red-oxide primer on those areas first provides extra corrosion protection. Apply a thin, even coat of primer to the entire gate using a brush or a sprayer. A sprayer is much faster for intricate, ornate gates, while a brush gives you more control on simpler designs. Let the primer dry completely.
Step 6: Apply the First Topcoat of Paint
Once the primer has fully cured according to the manufacturer’s directions, you are ready to apply your color. Choose a paint specifically formulated for exterior metal, often labeled as “direct-to-metal” or DTM paint. These paints are durable and flexible enough to handle temperature changes without cracking. Apply your first coat in thin, even strokes. If using a brush, watch for drips, especially on vertical surfaces and detailed areas. If using a sprayer, maintain a consistent distance from the gate and use sweeping motions to avoid pooling and ensure even coverage.
Step 7: Apply a Second Coat for Durability
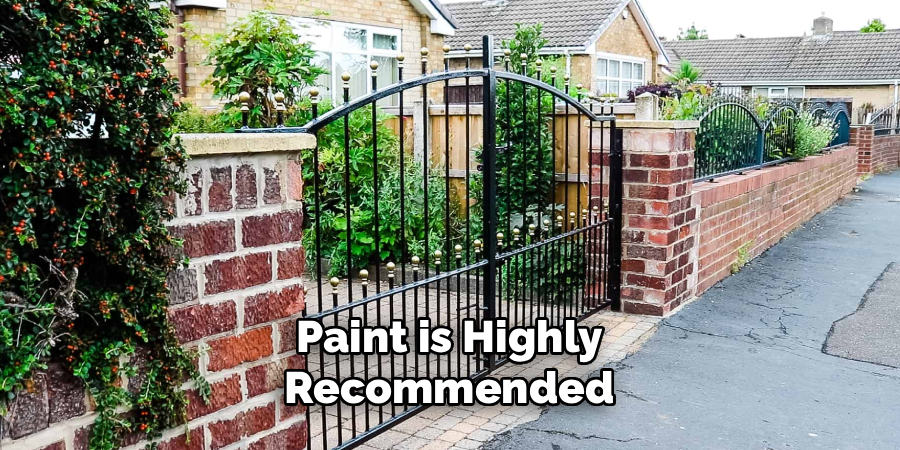
For the most durable and professional-looking finish, a second coat of paint is highly recommended. The first coat provides the base color, but the second coat ensures complete, uniform coverage and builds a thicker, more protective layer against the elements. Allow the first coat to dry for the time specified on the paint can—this is crucial for proper bonding between coats. Apply the second coat just as you did the first, using thin, even strokes to create a smooth, flawless finish that will stand up to sun and rain for years to come.
Tips for Painting Success
- Choose the Right Tools: Invest in high-quality brushes and rollers to ensure even application and minimize streaks or drips.
- Prepare the Surface: Clean and sand the surface thoroughly before painting to remove dirt, grease, or old paint, ensuring the new paint adheres properly.
- Use Primer When Needed: For surfaces that have never been painted or are in poor condition, applying a primer first can help achieve better color and durability.
- Work in Suitable Weather Conditions: Avoid painting during extreme heat, cold, or humidity to prevent issues like cracking, peeling, or uneven drying.
- Don’t Rush Between Coats: Ensure enough drying time between the first and second application, as this prevents peeling and helps the paint fully cure for a durable finish.
- Test Paint Colors: Always try a small sample on your surface to confirm the color looks as expected in the intended lighting before committing.
Frequently Asked Questions
What Is the Best Paint to Use on a Metal Gate?
The best choice is a high-quality paint specifically designed for exterior metal surfaces. Look for oil-based or acrylic latex paints labeled “Direct-to-Metal” (DTM). These are formulated for excellent adhesion and durability in outdoor conditions. For maximum protection, always use a rust-inhibiting primer before applying your color topcoat.
Do I Have to Remove All the Old Paint Before Repainting?
No, you do not need to strip the gate down to bare metal entirely. However, you absolutely must remove all paint that is loose, flaking, bubbling, or peeling. Any paint left on the gate must be solid and firmly adhered. You should then sand the entire surface, including the intact old paint, to create a rough profile for the new primer to grip onto.
Can I Paint Over Rust?
You should remove as much loose, flaky rust as possible with a wire brush. For the remaining surface rust, you should use a rust-inhibiting or rust-converting primer. These primers chemically bond with the rust, creating a stable, paintable surface that prevents the rust from spreading further. Never apply a topcoat of paint directly over rust without priming first.
Spray Paint vs. Brush-on Paint: Which Is Better for a Gate?
This depends on the gate’s design and your preference.
- Spray Paint: Much faster, especially on ornate or complex gates with lots of scrollwork. It provides a very smooth, even finish with no brush marks.
- Brush-on Paint: Offers more control, creates less overspray, and can result in a thicker, more durable coat. It is often a better choice for simpler, flatter gate designs.
How Long Do I Need to Wait Between Coats of Paint?
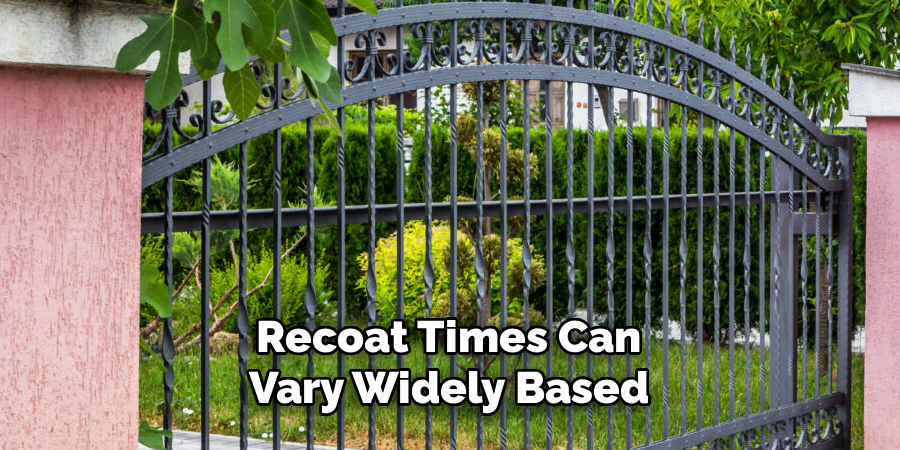
Always follow the specific instructions on the paint can. Recoat times can vary widely based on the type of paint (oil vs. acrylic) and environmental conditions like temperature and humidity. Rushing this step and applying a second coat too soon can cause the finish to wrinkle, bubble, or peel, ruining your hard work.
Conclusion
Repainting a metal gate is a highly rewarding project that boosts your home’s curb appeal and protects your investment from decay. The secret to a beautiful, long-lasting finish lies almost entirely in the preparation.
By diligently removing old rust and paint, thoroughly cleaning the surface, and using a high-quality metal primer, you create the perfect foundation for the new paint to adhere to. The final coats of durable, exterior-grade paint will provide a tough barrier against the elements. Now that you know how to repaint a metal gate, you can confidently tackle this task and enjoy the satisfaction of a job well done.
About
Mirat Rate is a skilled author for The Metalix, bringing 6 years of expertise in crafting a wide range of The Metalix. With a strong background in metalwork, Mirat’s knowledge spans various types of fixtures, from decorative pieces to functional hardware, blending precision with creativity. His passion for metalworking and design has made him a trusted resource in the industry.
Professional Focus:
Expert in Metal Fixtures : Mirat aesthetic specializes in creating durable and innovative metal fixtures, offering both appeal and functionality. His work reflects a deep understanding of metalworking techniques and materials.
Sustainability Advocate : He is dedicated to using sustainable practices, ensuring that every fixture is crafted with eco-friendly methods while maintaining high-quality standards.
In his writing for Metal Fixes, Mirat provides valuable insights into the latest trends, techniques, and practical advice for those passionate about metal fixtures, whether they are professionals or DIY enthusiasts. His focus on combining artistry with engineering helps others discover the true potential of metal in design.